Cómo crear páginas de ventas con retraso en WordPress (Gratis)
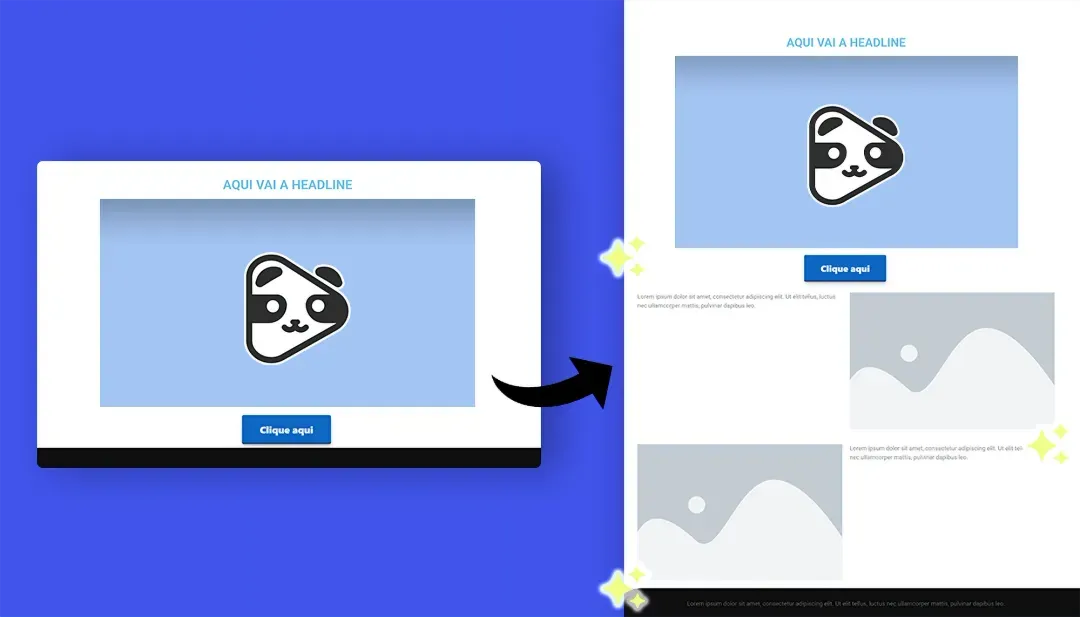

¿Alguna vez has visitado una página en internet donde, al principio, solo se muestra un video, pero después de un tiempo, nuevos elementos como botones, textos y ofertas especiales comienzan a aparecer?
Este es el efecto de retraso en las páginas de ventas, ampliamente utilizado para aumentar la conversión de las Cartas de Venta en Video (VSL). Si has visto a otros usando esta función pero aún no sabes cómo hacerlo, quédate con esta publicación.
Te mostraremos paso a paso cómo configurar páginas de ventas con retraso utilizando WordPress y Elementor de forma gratuita.
¿Qué es un Retraso en las Páginas de Ventas?
El retraso, o intervalo de tiempo, es un lapso intencionado introducido antes de que ciertos elementos de una página de ventas se vuelvan visibles o clicables. Esto puede incluir botones de llamada a la acción (CTA), formularios de registro, videos y más.
La idea es retener la presentación de estos elementos hasta que el visitante haya tenido tiempo de absorber el mensaje principal del video.
¿Por qué Usar Páginas de Ventas con Retraso?
Usar retrasos puede ser un gran aliado en tu estrategia de marketing en video. Al evitar que todos los elementos aparezcan de una vez, mantienes al visitante concentrado en el contenido principal (que probablemente sea un VSL), prolongando la atención y el interés.
Además, el retraso hace que la página se sienta menos comercial, evitando que el visitante sienta que la intención principal es vender algo rápidamente. Esta característica es especialmente útil para audiencias menos calificadas, que pueden desanimarse si perciben que la página está tratando de vender un producto de inmediato.
Adicionalmente, al agregar retrasos a tu página de ventas, tú:
Evitas distracciones;
Mejoras la tasa de conversión de la página.
Lee también: Cómo Mejorar los Resultados de Videos VSL en Panda Video
Paso a Paso para Crear Páginas de Ventas con Retraso en Elementor
1. Creando la Estructura de la Página de Ventas:
Ve a tu panel de WordPress y navega a Páginas > Agregar Nueva.
Ingresa el nombre de la página y haz clic en Editar con Elementor.
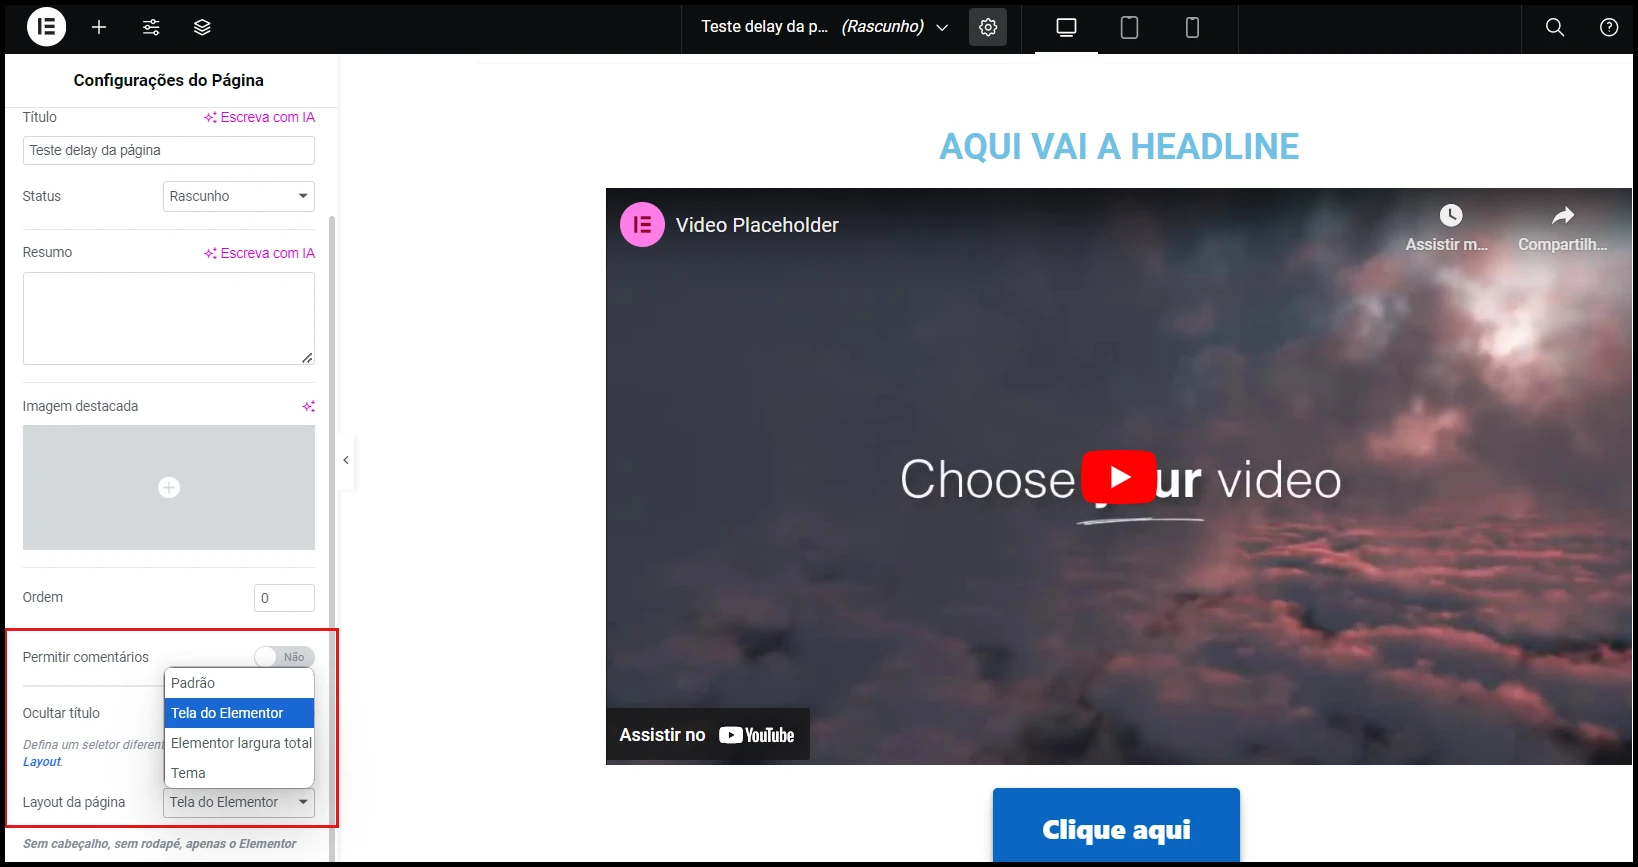
En Configuraciones, establece el diseño de la página en "Canvas de Elementor" para comenzar desde cero, eliminando cualquier estructura predeterminada.
2. Agregando el Video de Ventas (VSL)
Crea una sección para agregar el titular y el video de tu página.
Si estás agregando un video de YouTube, arrastra el widget de Video desde Elementor.
Si agregas un Panda Video, arrastra el widget de HTML y pega el código que se encuentra en la plataforma.
3. Creando Secciones para el Botón de CTA y el Resto de la Página:
Crea nuevas secciones para agregar el botón que lleva a tu compra y textos complementarios. Es importante hacer esto por separado de tu video y titular para que más tarde puedas activar el efecto de retraso solo en estas secciones.
Cómo Agregar Retraso a los Elementos de la Página
1. Insertando Código HTML y CSS en Elementor
Para configurar el retraso, necesitas agregar código HTML que controle el tiempo de visualización de los elementos. Sigue los pasos a continuación:
En Elementor, arrastra el widget de HTML al pie de tu página.
Pega el código HTML que define el retraso para los elementos. Este código establece el tiempo en milisegundos, sincronizando la aparición de componentes con la llamada a la acción en el video.
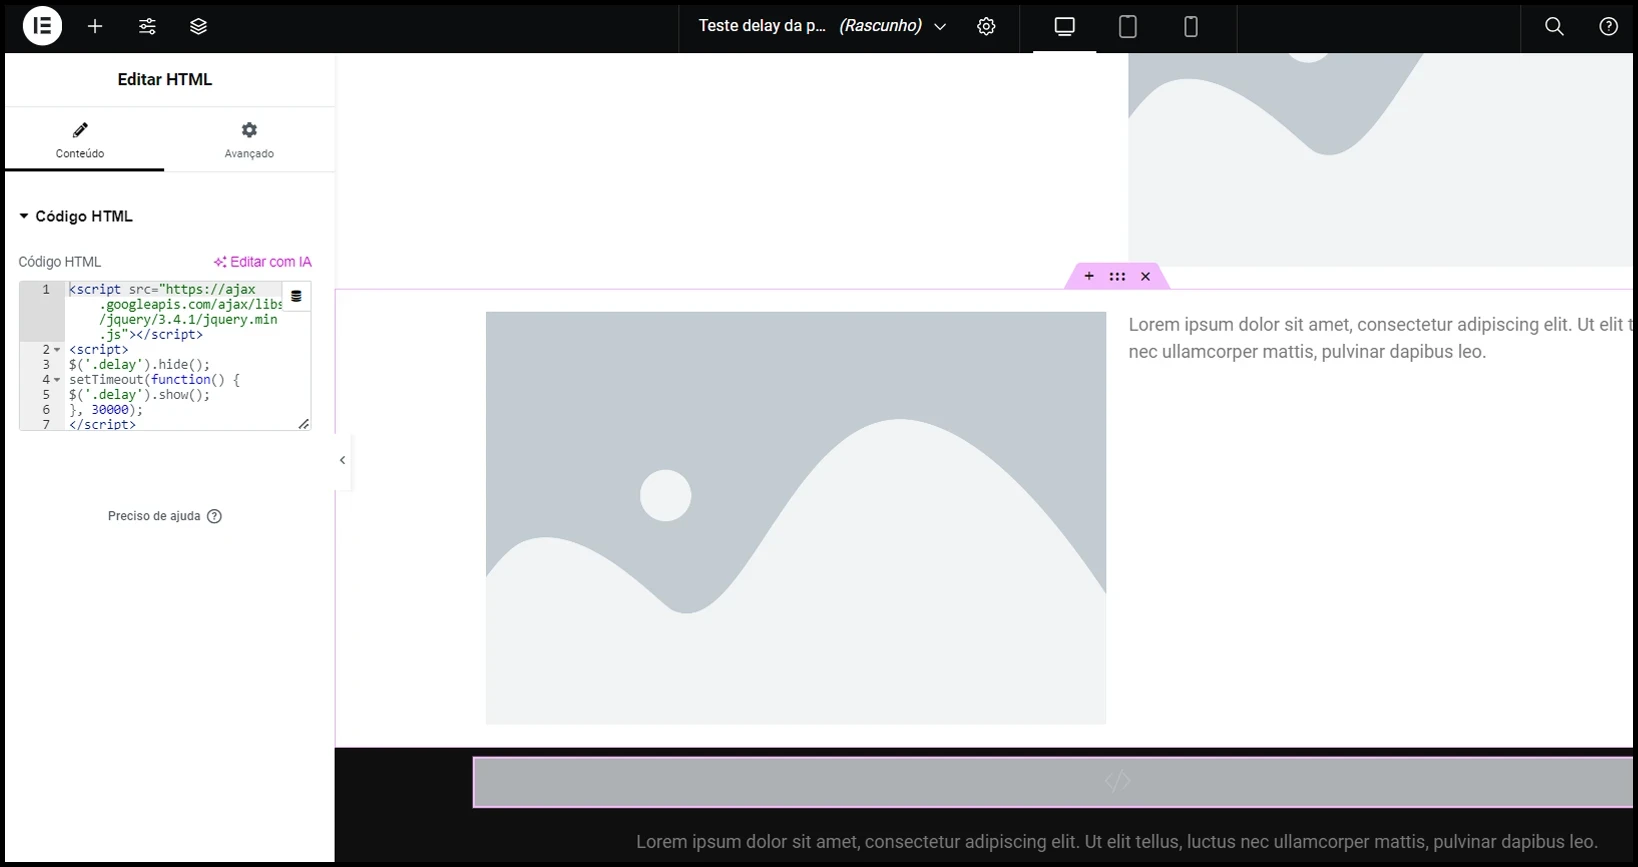
Ejemplo de cómo debería verse el HTML en el pie de página
El tiempo de visualización se configura dentro de la función setTimeout(), que está configurada en 1000 por defecto. Ajusta el tiempo de visualización de los elementos de acuerdo con el momento ideal en el video, como cuando se hace una llamada a la acción.
2. Estableciendo Clases CSS para Elementos
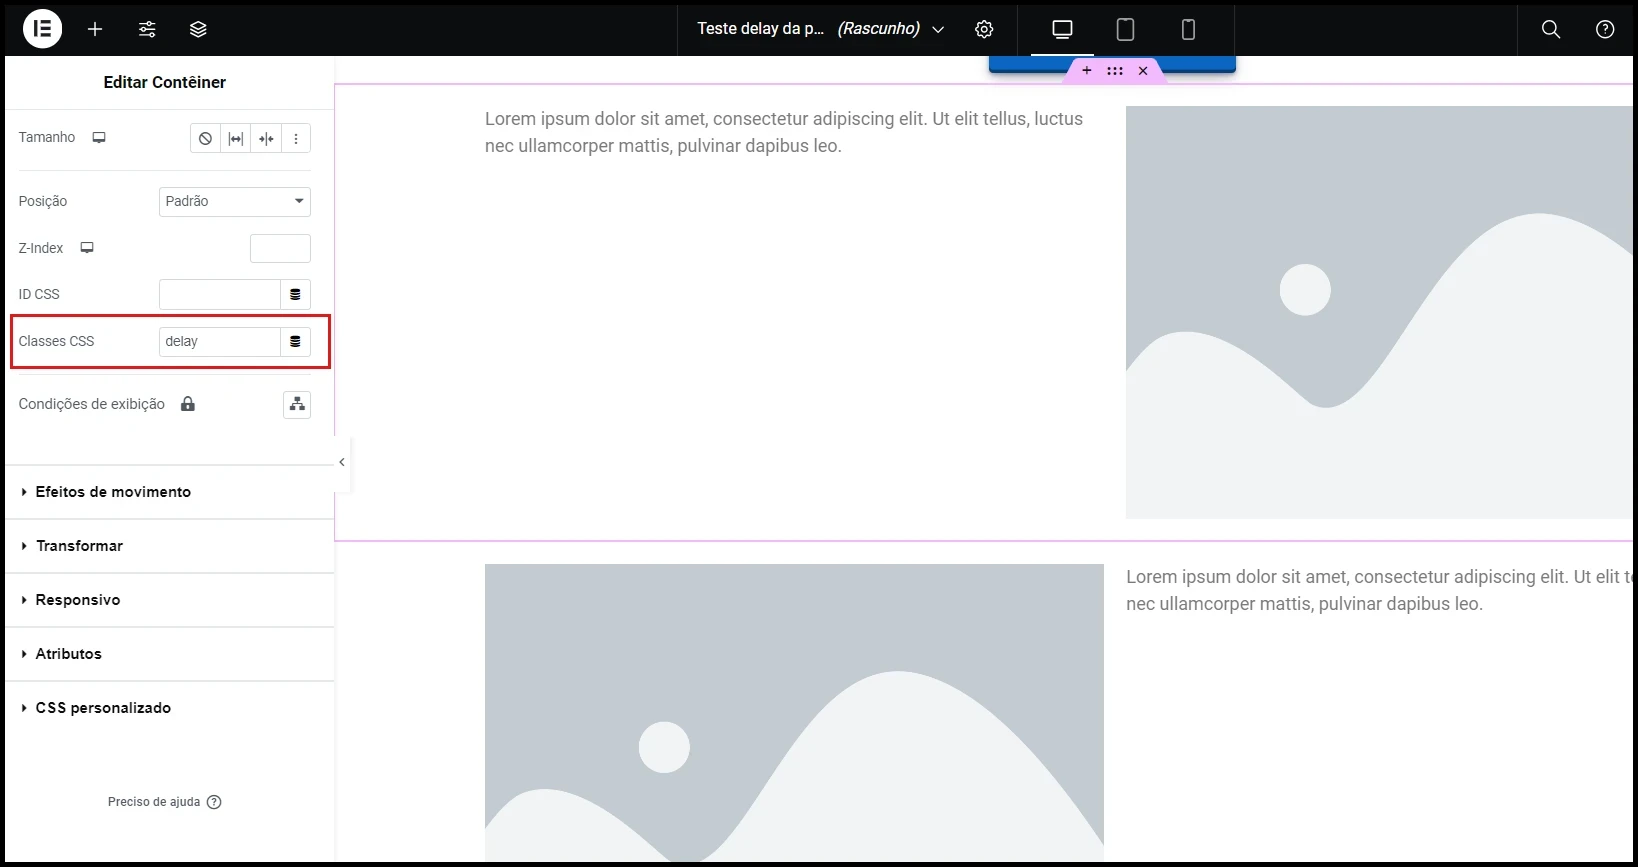
Para que el código funcione, agrega la clase delay a las secciones que deseas ocultar inicialmente.
En Elementor, ve a la configuración de la sección, haz clic en Avanzado > Clase CSS e inserta delay.
Método Alternativo para Activar Retraso en los Botones de CTA
Además del método anterior, hay una forma aún más sencilla de agregar retraso a los botones de CTA utilizando el plugin Panda Video en WordPress.
1. En el panel de WordPress, ve a Plugins > Agregar Nuevo y busca "Panda Video". Encuentra el plugin oficial, haz clic en Instalar y luego Activar.
2. Después de la instalación, al editar una página con Elementor, notarás nuevos widgets relacionados con Panda Video, incluidos Botones Panda.
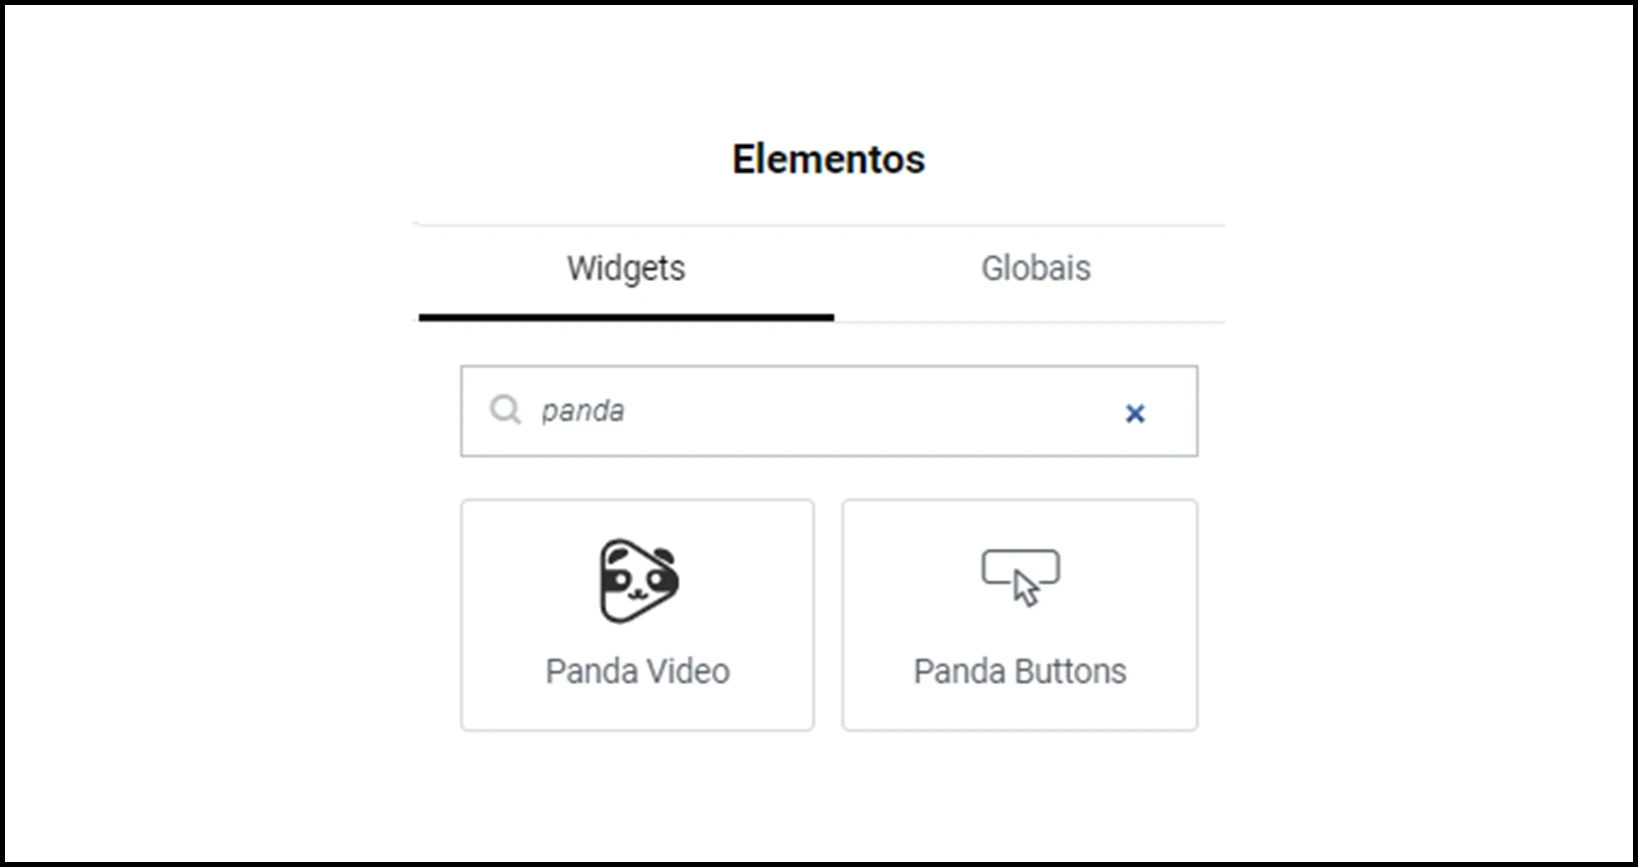
3. Con el widget de Botones Panda, puedes crear un botón personalizado en tu página de ventas y definir exactamente cuándo debería aparecer, según el momento específico en tu video.

Probando y Optimizando Tu Página de Ventas con Retraso
Después de configurar el retraso, previsualiza la página para asegurarte de que los elementos aparezcan en el momento correcto. Haz ajustes finos al tiempo de retraso para asegurar una sincronización óptima con tu video de ventas.
Finalmente, utiliza Panda Video para incorporar características que mantengan a los espectadores viendo hasta el final, como la Barra de Progreso Ficticia y el Reproducción Automática Inteligente, que inicia el video tan pronto como el usuario ingresa a la página.
Con el reproductor de Panda Video, también evitas que tu audiencia se interrumpa con anuncios o recomendaciones de otros videos.
Prueba Panda Video gratis y ve por qué más de 5000 empresas confían en nosotros para alojar sus VSL y cursos.